So, you've started on the course experimential systemdevelopment and you want to know how you can get your files from git onto the virtual machine so the world can see it? In this post, I've tried giving a short guide on how to do this.
Step 1: Connecting to AU's VPN
Firstly, you need to connect to Aarhus University's VPN. The Virtual Machine (VM) that you will be using can only be seen while on AU's network, as a means to protect them from outside interference.
You will need to have two factor authentication (2FA) enabled to be able to connect to the VPN, as it simply won't work otherwise. The guide is described here https://studerende.au.dk/it-support/vpn/#c2550935 . You need to download the microsoft authenticator app to your phone, and work through the process there to set it up. I also needed to set up SMS verification. When you have setup 2FA, you should be able to install the VPN software.
The school uses Cisco AnyConnect to connect you to the VPN. Again, you can follow the guide here - https://studerende.au.dk/it-support/vpn/ . Remember to choose the group AU-ACCESS and not any of the other ones. Your username is [email protected] and the password is the same as on mit.au.dk . To log-in, you NEED to have the authenticator app open on your phone, as otherwise your login will just fail automatically. If the authenticator app is open when you log-in, you should get a request on your phone to approve the login. If you use linux, you can get the au-vpn to work but I cannot remember the process. I think there is a version of cisco anyconnect on the AUR.
With AnyConnect installed, you can now connect to AU's VPN! Open the Cisco AnyConnect app and type remote.au.dk . Click the connect button and again use your [email protected] and mit.au.dk password. And AGAIN remember to have the authenticator app open, as you cannot login without approving the login on the authenticator app. And if you don't approve it quickly enough, it will probably also fail. If everything goes according to plan, you should be connected to the VPN now!
Step 2: Connecting to the VM
As our lecturer described, one from your group will have to send an email to him to get your password in the form of two SSH keys. You can use this key to log into your VM without having to type a password. Neat! From the email the lecturer sent you, you will have zip archive with two files.
At this point, we need to make sure you have your own SSH key. First, you should find your .ssh folder. The location of this directory is a bit different according to your operating system (eg "C:\Users\lucas\.ssh" on windows and "/home/lucasw89/.ssh" on linux, which should also mimick the structure on macOS). If you already have an id_rsa and / or an id_rsa.pub located in this folder, you can rename them to id_rsa_back and id_rsa.pub_back for now. If you don't have these files you can generate them with the command
ssh-keygen -t rsa -b 2048 -C "[email protected]"From a terminal on mac and linux or powershell on windows, replacing [email protected] with your own email. It might ask you for a filename and password, which you can leave as default (just press enter for everything it asks you). After generating them, rename them as described above.
Now, to connect to the VM, you can place the files named from the lecturers zip in your .ssh directory. Remember that the key has to be extensionless (eg. named "id_rsa" and not "id_rsa.txt").
From here, you need to open a terminal. On windows, you can use powershell, and on mac and linux any terminal should work. And then, there's only one thing to do: type "ssh auuser@vm##-server.exsys2021.cs.au.dk" where ## is your vm's number (see the lecturers email for your number) and press enter. It should ask you for a passphrase, and you can check the lecturers mail for this too (he writes something akin to "ssh key: xxxxxx"), and again press enter. With this done, some information should pop up telling you that you are logged into an ubuntu server. Congratulations! You now have access to your virtual machie.
Step 2.1: Your own personal key!
Now that you're connected you can use your own key agian. Open your own / newly generated id_rsa.pub_back file with a text editor (such as notepad). Copy the contents of this file. On the terminal connected to the VM, type "sudo nano ~/.ssh/authorized_keys", and paste the copied text from the .pub into this file. Pasting can be a bit tricky on a terminal, google is your friend here. I think its done by right clicking in powershell, and usually ctrl/cmd + shift + v on mac and linux. Remember to paste in your copied text on a new line (just press enter :)).
To exit and save, perform this key combination:
ctrl + x
y
enter
Now, you can type "logout" to logout of the server. Delete the id_rsa and id_rsa.pub that you copied from the lecturers zip file, and remove the _back from the filename of your own id_rsa and id_rsa.pub. Now you can login to your VM without having to type the password! Type the "ssh auuser@vm##-server.exsys2021.cs.au.dk" now and in the future when you want to log into your VM.
You can also if you're finding yourself in a particularly nice mood also add your friend's .pub keys here, so they can log into the VM without needing the lecturer's id_rsa key too (good idea to do).
Step 3: Making the VM show my files!
Now, the last step in this guide is to shortly give you a quick guide to make your website say something. There are many ways to achieve this simple goal, and the way i show you here is only one of them, however one that should also keep you going for a long time.
To install software on this virtual machine running ubuntu, a linux operating system, you use something called a package manager. That means you can install most software using the command "apt install name". Furthermore, to install software like this, you need to prepend sudo to the command. Sudo basically means "run this command as administrator (called root in linux terms)". This is useful, as you probably don't want just any program and user to do things like install and uninstall software on your VM.
Now, type the command "sudo apt install nginx" and press enter. This will install the software known as nginx, which in simple terms is some software that, when the machine gets a http request (when a browser contacts it) will respond with some files you create. It even has a basic website, telling you that you have installed it successfully and that it works. Try and check out your teams website on https://demo.exsys2021.cs.au.dk/ and see that it doesn't show "502 bad gateway" anymore. If it doesn't change, don't fret and just follow along for now.
nginx gets its files from a directory on linux. Anything placed in the folder located at "/var/www/html/" will be able to be reached from the outside world. So how do you get nginx to serve your files? You simply put your website in the directory! :). You can do a simple test first to see this works. From your terminal, type "cd /var/www/html". cd stands for change directory, and changes where your terminal is right now. This means, that commands you type now are done knowing that /var/www/html/ is their base path of operation. If you want to know what is in a folder, you can type ls (i memorise this as list structure), which will show you which files exist where your terminal currently is. Next, simply type
echo "Achievement: Webdev!" | sudo tee ./index.htmlThis places the text inside the qoutation marks into a filed called index.html in this folder. You can see that index.html now exist by using the ls command agian. And now that this file exists, you should also be able to see it has changed on https://demo.exsys2021.cs.au.dk/ . Wonderful! You now have a website up and running.
Step 4: What now?
Now at this point you have got the basics down. You're on the virtual machine, and can make changes to what the world sees on your virtual machine. The next steps is probably to start creating your website using web techonologies such as html, css and javascript, and git + gitlab as source control. This is where you will have to do a bit more googling on your own to create the project. Once you've made something you want to publish on your public website, come back here.
Step 5: Publishing your repository to your VM
Hey! You're back :). At this point, I assume that you have created some kind of project files that you want to publish to your VM. Don't fret! You already know almost all of the tools you need to publish your website. The process of uploading your git changes to your VM is a process that can be followed in these steps:
Step 5.1: Clone the project
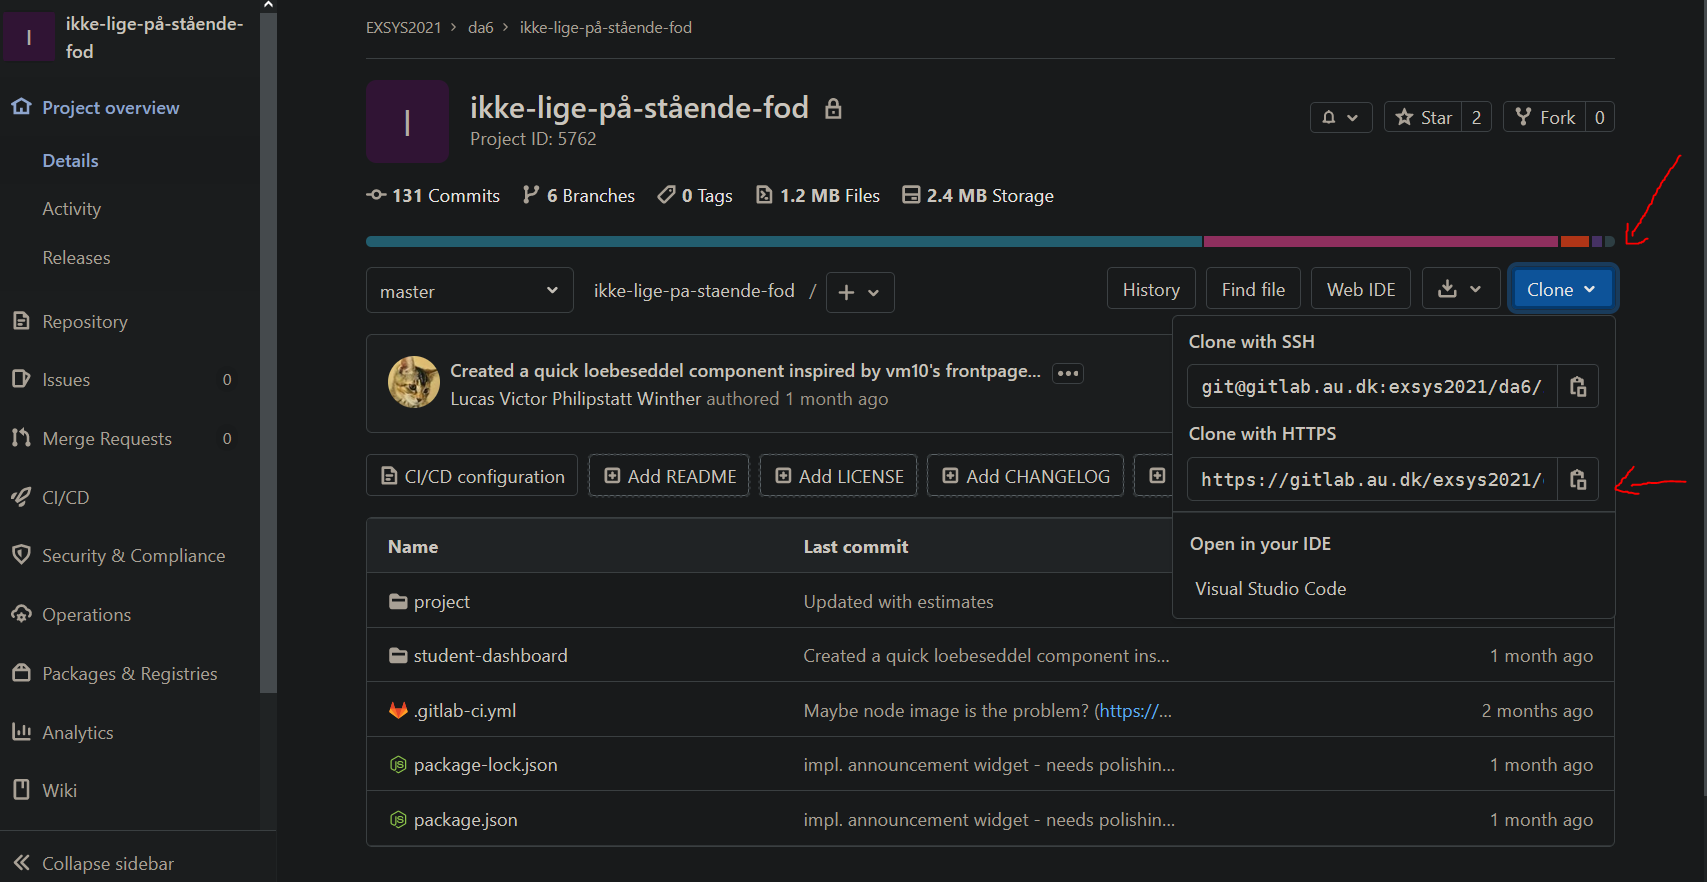
You're probably getting used to git at this point. Start by changing directory to your home folder on linux (cd /home/auuser/). From here clone your git repository by typing "git clone <your link>". You can find your clone link on your gitlab project page
After you have typed "git clone <link>", git should ask you to authenticate. You will here have to enter your username (auxxxxxx) and password (the one you use on gitlab.au.dk) to authenticate. When this is done, you should have cloned your project onto the vm, Good job! Now it is simply a matter of placing your files in the public nginx folder.
Step 5.2: Copy to /var/www/html/
Once the project is cloned, you need to change directory (cd) into it, by typing "cd <repository-name>". Once inside, you need to find where your project is located (eg, where your index.html, javascript and css files are located). You can type ls to find out where you are, and use "cd <directory>" to move around in the file system. You can also do "cd .." to go up one level of directory. Now, when you're in your directory such that you see the correct files when you type ls, you can type "sudo cp -r ./ /var/www/html/". This will copy all files from one place (in this example, "./" describes the directory we are currently in) to another (in this example /var/www/html/). This should result in you seeing your project files at your website on https://demo.exsys2021.cs.au.dk/ .
Step 5.3: Future iterations
Now in future iterations, you do approximately the same. However, since you already have cloned the project, the process is a bit different
- go to your home directory ("cd ~")
- cd into your repositry (use ls if you forgot the folders name)
- type "git pull" to update the project files
- Log in with your auxxxxxx username and gitlab.au.dk password.
And then follow step 5.2. With this, you should be able to update the project on the VM :).
Step 5.4: Extra
When you eventually get tired of having to log in every time you need to pull, you can smartly allow your VM access to your projects gitlab. I won't go into detail here, but the process follows about the same as when you added your .pub key to the VM's allowed-hosts file. By generating an ssh key for the server ( ssh-keygen -t rsa -b 2048 -C "[email protected]" + enter 3 times ) and reading the key (cat ~/.ssh/id_rsa.pub), you can copy the key into your gitlab keys https://gitlab.au.dk/-/profile/keys and thus allow the vm access to act on your account.
